There was a lot of support for a Christmas dinner centered around turducken. Our nephews are big fans of Cajun cooking if only because of advertisements for a marinade injecting tool called the Cajun Injector. How could we not take on this culinary challenge?
The process begins with trying to buy a fresh turkey, duck and chicken two days before Christmas. Thankfully there is Whole Foods Market – a store that has all three and asks only the question, “Would you like organic, super organic, or extra super organic?” In other words, how much would you like to spend on a turkey? There is no limit.
On the eve of Christmas Eve we start out with Ruth making traditional bread stuffing, cornbread and sausage stuffing and dirty rice stuffing. Doug is deboning the birds.
Lesson number one is to allow four hours in this process. I’m sure there are people in Louisiana who can knock these out in fifteen minutes, but if you have never done it before and have only instructions from the Internet to go by, plan on finishing around midnight.
Removing the bones is a bit of a Zen process. Every example seems only to say, “cut down the back then remove the bones.” Now we understand why. There is no good way to describe it. You just have to do it. Start with the chicken, ruin it, then move on. You’ll do better with the duck.
Lesson number two is don’t remove all the skin. You want to remove as much excess fat as possible, but most of the meat is connected only by the skin and you want one contiguous piece when you are done.
Here are some pictures of the assembly process:
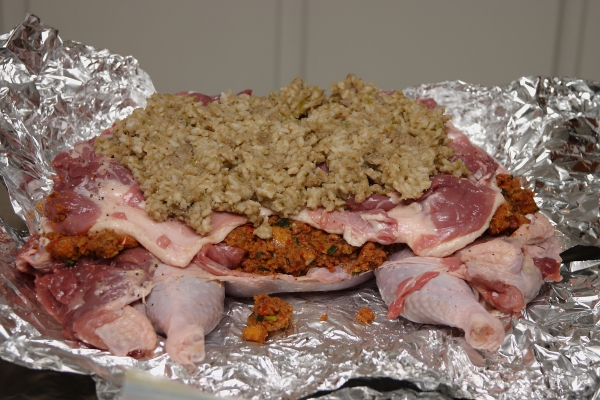
The turkey topped with cornbread stuffing.
Add the duck topped with rice stuffing.
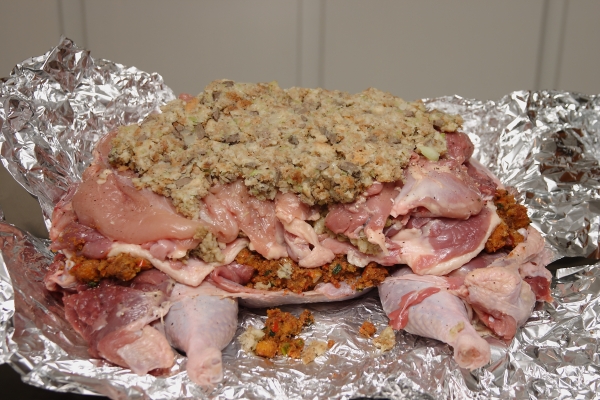
Add the chicken topped with bread stuffing.
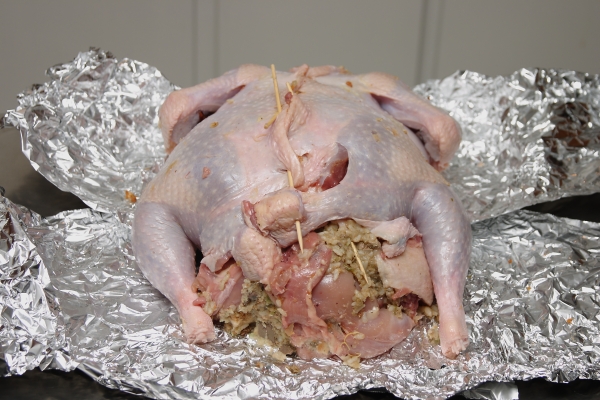
Wrap up the chicken in the duck.
Wrap the duck in the turkey.
From the front.
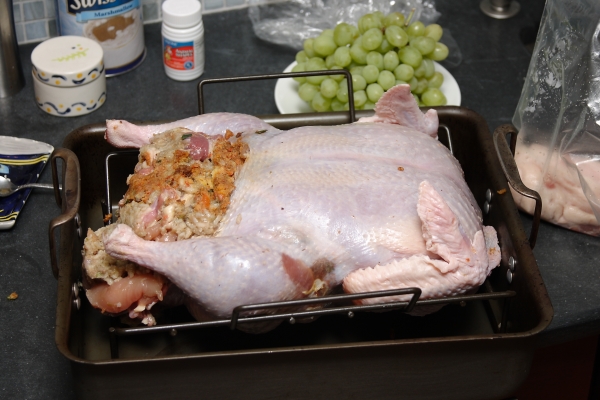
Flip it over and throw it in the oven.
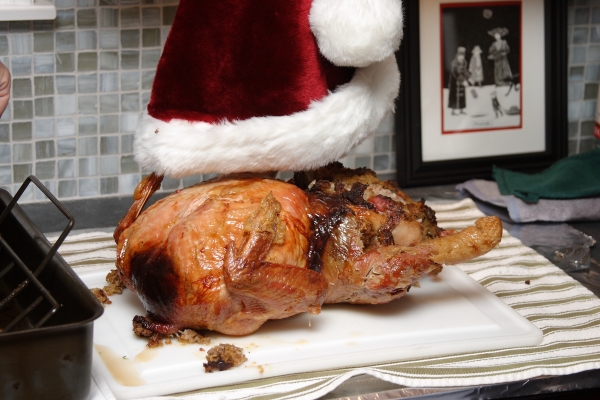
Done! Let’s not forget what holiday this is.
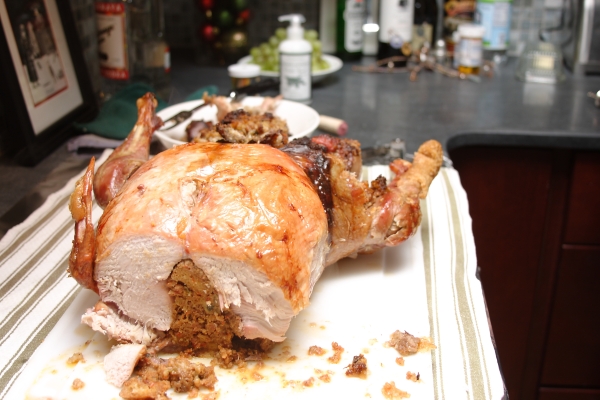
Carved from the front.
Carved from the back.
You can see from the pictures that the turkey was a bit over-stuffed. The duck and stuffing were squishing out the back. There is a reason most recipes call for a 20 pound turkey. We used a 12 pounder mostly out of concern for the cooking time. Our turducken took 4:54 to complete at 325°F. A larger preperation can take up to 10 hours.
Also, we took it out of the oven when the internal temperature hit 165°F. That’s the safe temperature. The turkey was a little dry. Live on the edge and stop at 155°F – you’ll be much happier with it. Either way, the duck and chicken were outstanding.
One thing we did right was using duck skin to protect the turkey in place of aluminum foil. The fat renders out, thereby basting the bird. At about the four hour mark, you can remove the duck skin to allow the turkey skin to crisp-up. The duck skin also makes a nice treat for the cook.
The turducken has a lot of up-front work, but when it comes time to eat it couldn’t be easier. Without bones you can just hack straight through it and carve out multiple meats and stuffings in one go. And don’t underestimate the natural fascination with layered food we all have. Carving the turducken is a big event. We highly recommend the turducken.

